Think Spring: Prepare Your Irrigation System
Think Spring: Prepare Your Irrigation System
Tips to prepare your lawn sprinkler system for
With the arrival of spring, it’s time to start thinking about preparing your sprinkler system for use after the thaw. Keeping sprinkler systems in good working order is essential to the health of your lawn and gardens, as is ensuring that all components are functioning correctly, as it can help you to avoid costly repairs down the line. Here are some steps to help you get your irrigation system ready for spring.
Check For Leaks and Damage
To make sure your sprinkler system is working as effectively as possible, it’s important to check the sprinkler heads and PVC piping for leaks or damage that may have occurred over the winter months.
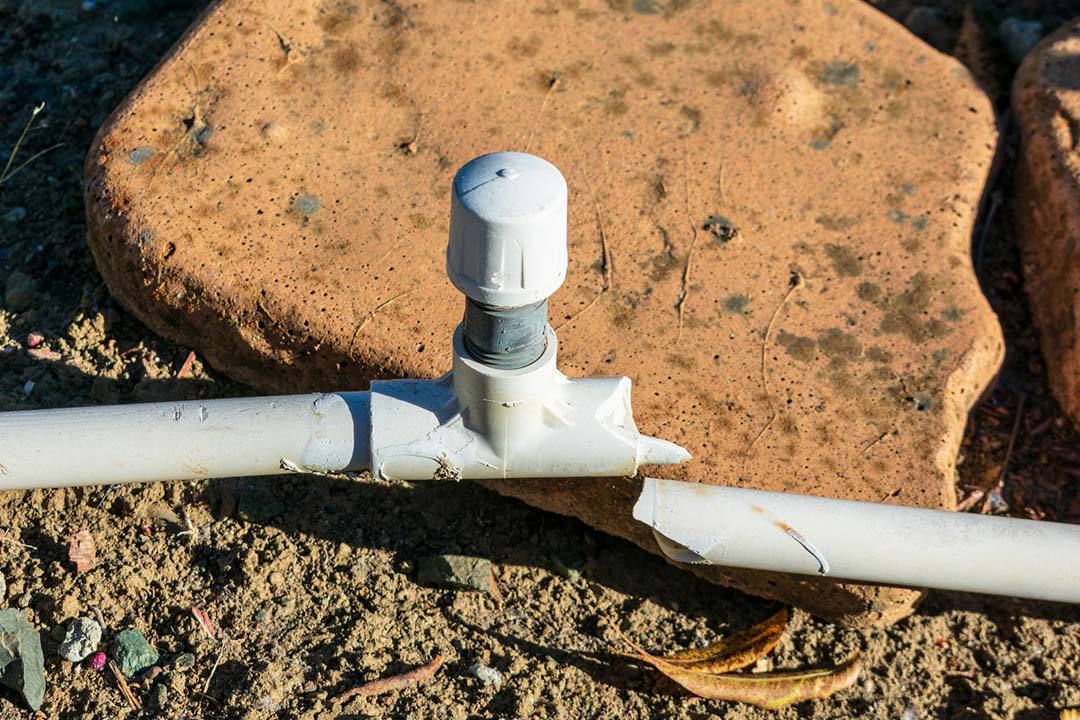
Check for leaks and damage in your irrigation system
Inspecting Sprinkler Heads
The first step in performing a routine maintenance check on your sprinkler system is to inspect them for any signs of damage. By going over the entire system and checking every square inch, you’ll be able to find exposed pipes, clogs, worn-out parts, or corrosion that could reduce their efficiency before you turn the sprinkler system on for the year. If you notice any signs of wear and tear, replace the sprinkler head with a new one right away.
This is also a good time to repair or replace any insulation tape or rubber seals and check the angle of each head. If the angle has been altered from its original position, adjust it so that it doesn’t spray water onto hard surfaces like driveways or sidewalks, where it could create puddles or runoff.
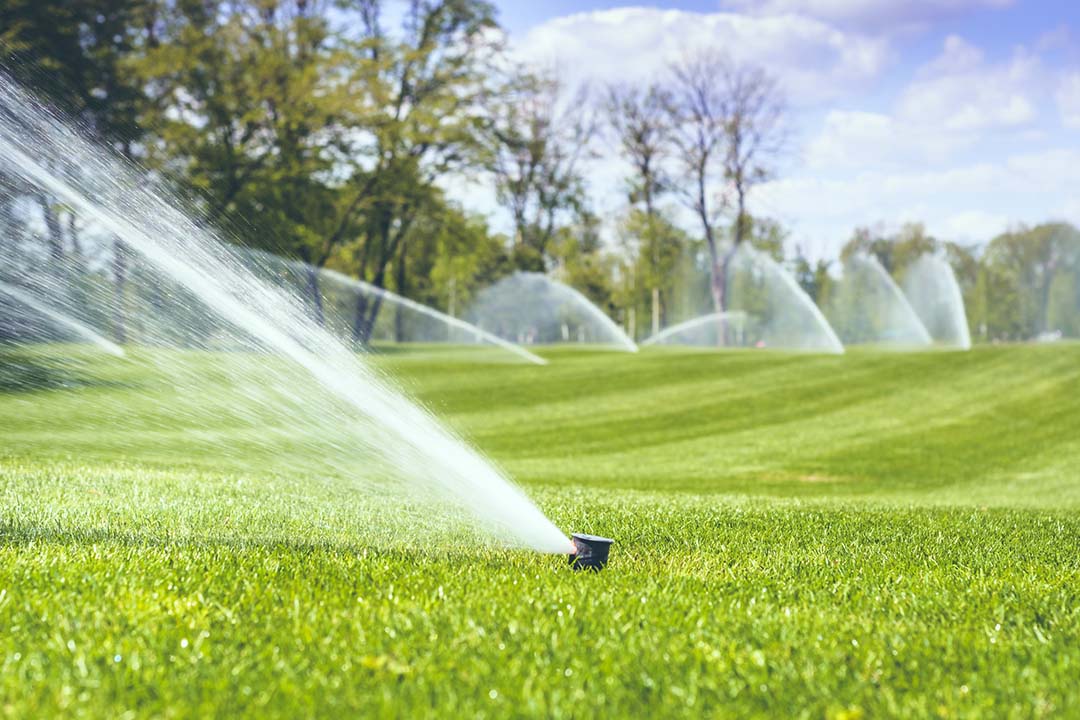
Check for leaks and clean sprinkler heads
Checking for Leaks
Once you’ve inspected all the heads for potential damage, turn on each zone one at a time and check for any leaks or wet spots in the yard. If you have the proper adapters, you can also use a hose to test each one individually. Turn on the water supply and check the area where each head is located. This will help you identify any leaks in the line that could be causing water loss. If you find any leaks, turn off the water supply at the main shut-off valve immediately before attempting to repair them yourself, or call a professional technician who can fix them quickly and safely.
Cleaning Sprinkler Heads
When cleaning a sprinkler head, use a soft brush or, if you have an air compressor, use compressed air to clean off any dirt or debris that may have built up on the surface of each sprinkler head over time. Clearing any dirt or calcification with air pressure or a brush will ensure no obstructions are blocking its output when activated. Once done cleaning each head thoroughly, turn on your system again and observe to make sure all areas are receiving adequate coverage with no overspray onto hard surfaces like driveways or sidewalks.
Adjust The Water Timer
Once you’ve finished inspecting your sprinkler system, you should adjust the water timer accordingly. An efficient automatic water timer should be set to run at least once per week during periods of low rainfall. You can also adjust the timer settings depending on how much sun exposure different areas of your yard receive throughout the day.
Additionally, consider investing in a programmable timer that automatically adjusts sprinkler system settings based on weather conditions like rain mode, temperature, humidity, and wind speed. This will help ensure your lawn is always getting enough water without unnecessarily wasting any extra resources.
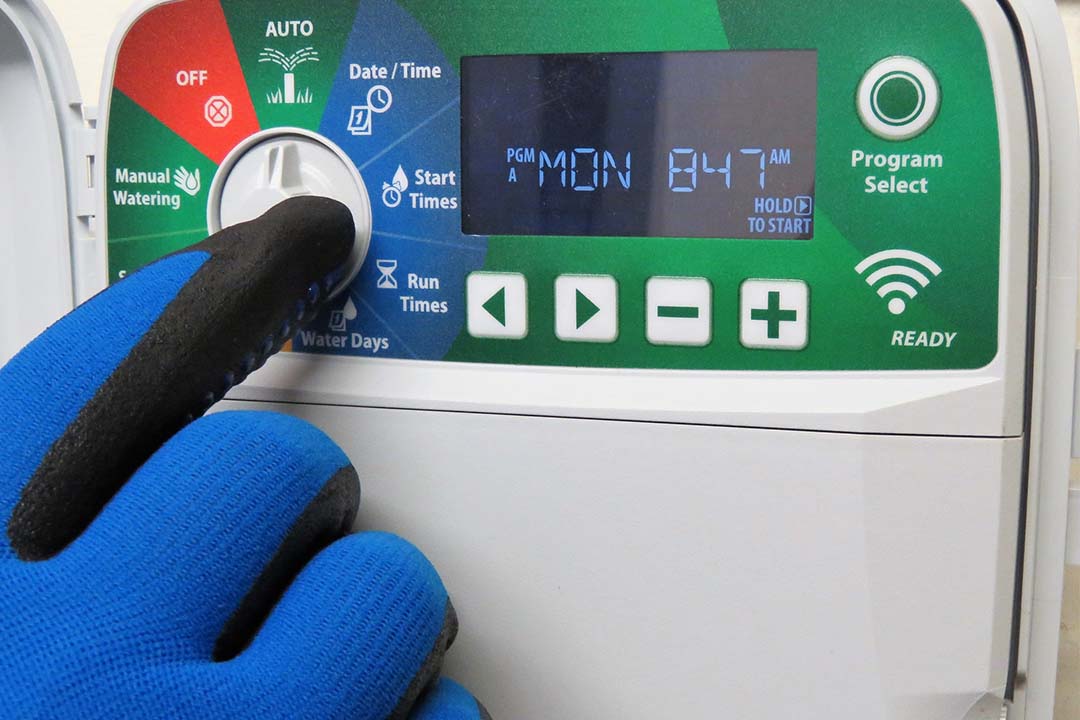
Don’t forget to adjust the automatic timer on your sprinkler system
Update Your Sprinkler System
Finally, you may take some time to update your system to one with helpful features such as rain mode or one with an automatic timer. Replacing all of your heads with any new models or attachments that may have been released since last year’s growing season ended might also be an option you’d want to consider. New models often come with better spray patterns and increased efficiency compared to their older counterparts–which means less wasted water and more healthy plants.
How to Update Your Sprinkler Heads
If you update your sprinkler system with new heads, you must determine which type is right for you. They come in various sizes and range from basic pop-up models to more complex rotary nozzles and rotors. When choosing the style of sprinkler head be sure to choose the one best suitable for the size and type of your property.
Pop-up sprinklers offer the most basic watering solution, with fixed spray distance and pattern. At the same time, rotary nozzles have adjustable settings that allow you to customize the distance, angle, and pattern of the water jet. Rotors are similar but allow for even greater customization as they have adjustable speed settings that adjust the amount of water released at any given time.
If in doubt, contact the professionals at All Metro Service Companies or look online to see what others in your community may recommend are best for lawns and gardens in your area. Once you have chosen a model, disconnect the old heads and install the new ones. Ensure all connections are secure and follow all safety precautions when handling wires or electrical components. Once ready, run a test cycle to ensure everything is functioning as expected before completing installation.
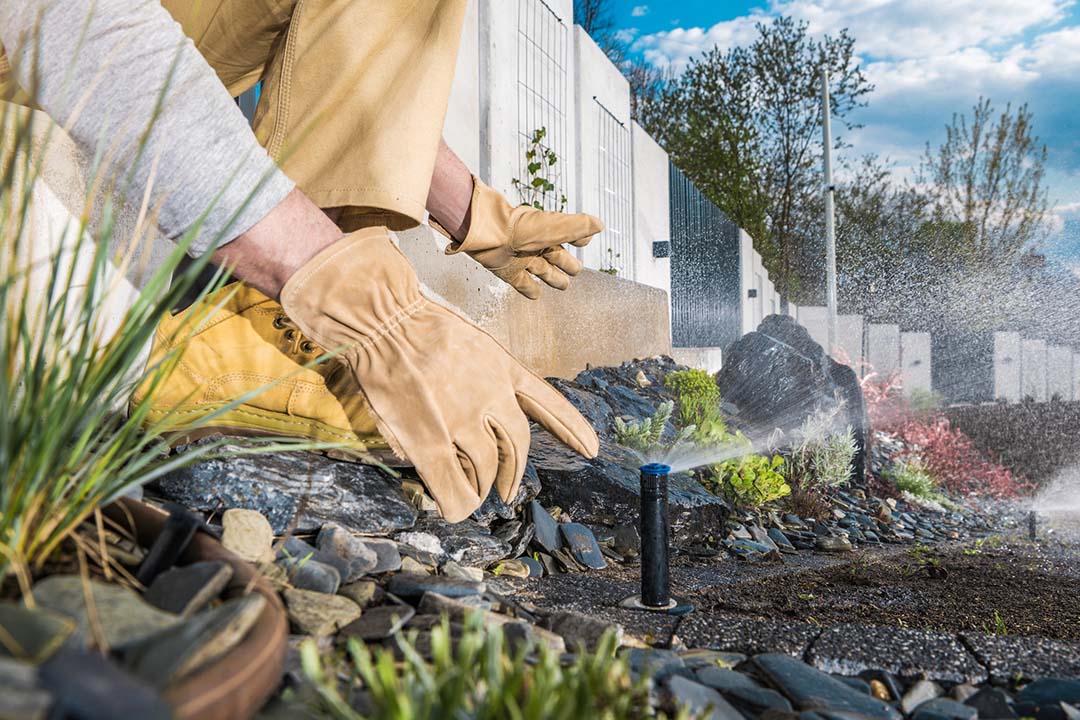
How to Update Your Sprinkler Heads
Run Test Cycles
Once any upgrades and repairs have been made, it’s time to run test cycles on your sprinkler system. This helps identify any potential problems before they become serious issues and can save you money in the long run.
How To Run Test Cycles
Running test cycles on your sprinkler system is relatively easy but does require some setup time. Be sure to shut the manual drain valve or, if installed, the automatic drain valve. Turn off all manual watering functions while testing so you can get an accurate reading of how well your system is working. Once all the valves are in the “off” position, turn each on one at a time to check for any functionality issues. When the valves have been checked, turn them back off and move on to the next step—checking the heads themselves. Be sure that each head and the sprinkler zones are spraying correctly. Adjust the heads as necessary if they are not pointing in the right direction or not spraying with enough force or water pressure.
Test Your Backflow Prevention Device
Finally, test your backflow prevention device (BFP) if you have one installed in your irrigation system, as the law requires these in some states. Backflow preventers prevent backflow from finding its way into your drinking water supply due to pressure changes within the pipes. This pressure change is usually caused by sudden increases in water usage – such as during prolonged periods of hot weather – when people tend to use more water than usual outdoors for things like lawns and gardens. Testing not only helps ensure your sprinkler system is operating efficiently but ensures your backflow device is working correctly, which helps to protect public health from possible contamination of your water supply due to backflow incidents.
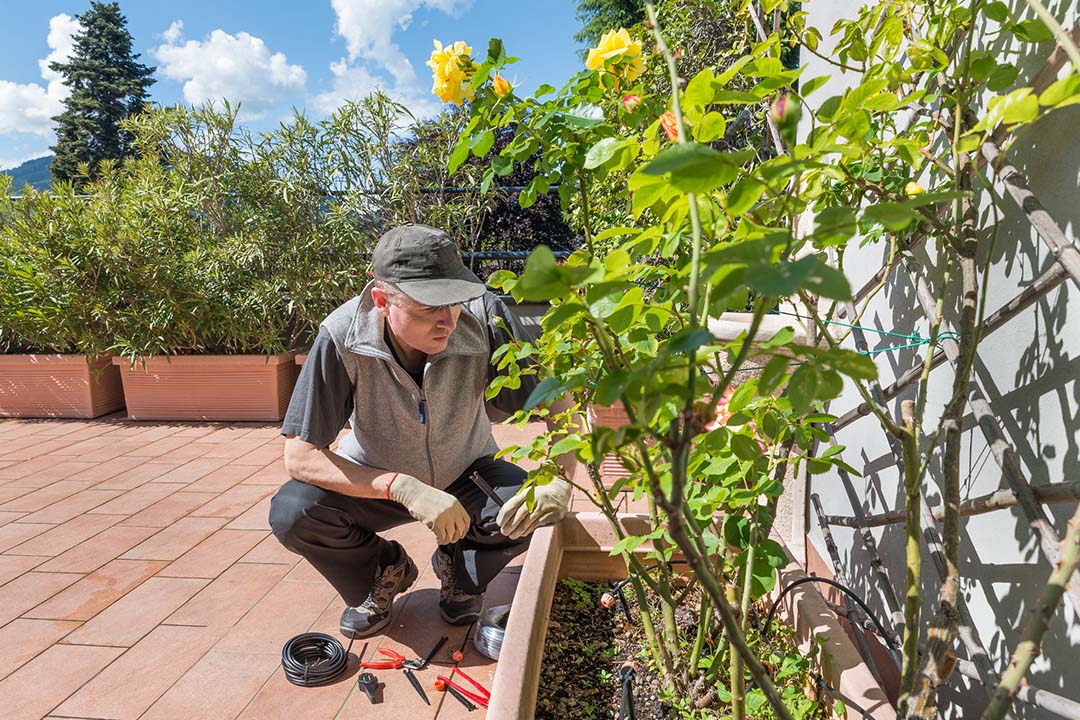
Take steps to ensure your irrigation system is working.
Conclusion
Taking care of sprinkler systems isn’t always easy, but following these steps will help ensure yours runs smoothly come early spring. While you may have used All Metro Service Companies’ to winterize your sprinkler system, it’s time to start preparing yourself to check your sprinkler system for leaks or damage from winter weather. You can do this by adjusting the water timer settings according to rainfall levels and sun exposure and updating all sprinkler heads with newer models or attachments.
Taking the time to prepare your irrigation system every spring and winterize your sprinkler system each winter helps ensure the system’s longevity and prevent headaches later when you’re hoping to enjoy a lush green lawn all summer long. If you find a leak, contact a professional as soon as possible so they can repair it before it gets worse. For more information or a free consultation, contact the professionals at All Metro Service Companies today.
Looking for more information?
Call us today at 763-789-4788 to receive a free estimate on any of our property services.
Free Estimates
on all Services
Use the form below to request a free estimate on any of our services.


